How to Create Snapchat Filters
Snapchat filters have become a popular way to add fun and creative elements to your photos and videos. Whether you want to showcase your brand or simply add a touch of personalization, creating your own Snapchat filter can be a great way to engage with your audience. In this article, we’ll provide a step-by-step guide on how to create Snapchat filters, even if you’re a beginner. Let’s dive in!

When it comes to Snapchat++ APK, our website provides a detailed step-by-step explanation to help you overcome any challenges you may encounter.
Beginner’s Guide – How to Create Snapchat Filters – Step-by-Step Instructions
Understanding Snapchat Filters
Before we dive into the creation process, let’s quickly understand what Snapchat filters are. Snapchat filters are overlays that can be applied to photos and videos captured within the Snapchat app. These filters can change your appearance, add animations, or incorporate branding elements. By creating your own filter, you can add a unique touch to your content and make it stand out.
Planning Your Snapchat Filter
The first step in creating a Snapchat filter is planning. Consider the purpose of your filter and the message you want to convey. Are you creating a filter for personal use, an event, or a brand promotion? This will help you determine the style, colors, and design elements you’ll incorporate.
If you’re encountering difficulties with How to restore Snapchat streak, our website provides a comprehensive guide with a detailed breakdown of each step.
Designing Your Filter
To design your Snapchat filter, you’ll need access to design software like Adobe Photoshop or Illustrator. If you’re new to these tools, there are plenty of online tutorials and resources available to help you get started.
Canvas Setup:
Start by creating a new document with the recommended dimensions of 1080 pixels wide and 2340 pixels tall. This ensures your filter fits perfectly within Snapchat’s requirements.
Design Elements:
Add design elements that align with your purpose and target audience. Use bold colors, eye-catching typography, or brand elements to make your filter visually appealing.
Keeping it Simple:
Remember, simplicity is key. Avoid cluttering your filter with too many elements, as it may distract from the main focus. Ensure your design stands out even when applied to a photo or video.
Saving Your Filter
Once you’re satisfied with your design, save it as a transparent PNG file. Transparency is important to ensure that only the desired elements are visible when applied to photos or videos.
Uploading to Snapchat
To upload your filter to Snapchat, you’ll need to visit the Snapchat Create website (create.snapchat.com). Sign in with your Snapchat account, and click on “Filters” in the top navigation menu. Then, select “Create Filter.”
Filter Details:
Fill in the required details for your filter, including the name, start and end date, location, and the appropriate category. Make sure to choose a catchy and descriptive name that reflects your filter’s purpose.
Upload and Preview:
Upload the PNG file you saved earlier. Snapchat will provide a preview of how your filter will appear on the app. Take this opportunity to ensure it looks as intended.
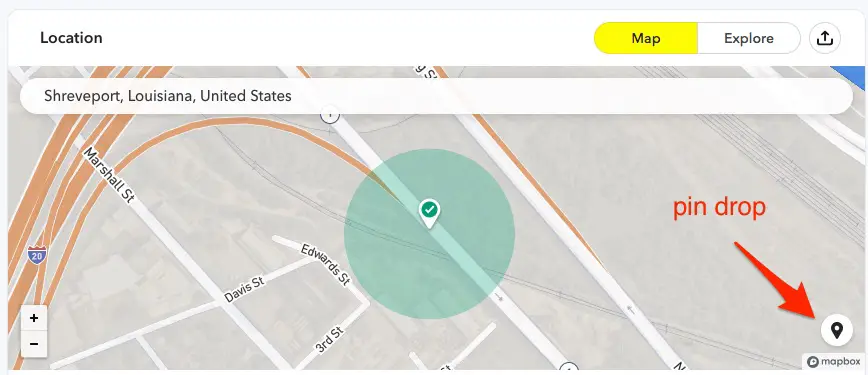
Geofencing (Optional):
If you want to restrict your filter’s availability to a specific location, you can set up geofencing. Define the area where you want your filter to be accessible to users. Keep in mind that geofencing comes with an additional cost.
Submission and Approval:
Review your filter details and submit it to Snapchat for approval. Snapchat typically reviews filters within one business day. Once approved, you’ll receive an email confirming its availability.
Promoting Your Filter
Creating a Snapchat filter is just the first step. To make the most out of it, promote your filter to increase engagement and usage.
Social Media Campaigns:
Leverage your social media channels to spread the word about your filter. Create posts with engaging visuals and encourage your audience to use and share your filter.
Influencer Collaboration:
Consider partnering with influencers or relevant accounts to promote your filter. Collaborating with influencers can help you reach a wider audience and generate buzz around your filter.
Monitoring Performance
After your filter goes live, it’s essential to monitor its performance to measure its effectiveness and make any necessary adjustments.
Snap Analytics:
Snapchat provides detailed analytics on the performance of your filter. You can track metrics such as views, shares, and usage time to gauge its success.
User Feedback:
Encourage users to provide feedback on your filter through comments or direct messages. Pay attention to their suggestions and use this feedback to improve future filters.
Conclusion
Creating your own Snapchat filters can be a fun and rewarding experience. By following these step-by-step guidelines, you’ll be well on your way to designing and promoting a captivating Snapchat filter that captures attention and engages your audience. Learn how to create Snapchat filters and bring your creativity to life. Remember to align your design with your purpose, whether it’s for a special event, brand promotion, or personal expression. Keep it visually appealing, with eye-catching graphics and colors. Finally, don’t forget to promote your filter through various channels, such as social media and word-of-mouth. Get creative and enjoy the process of bringing your Snapchat filters to life!